
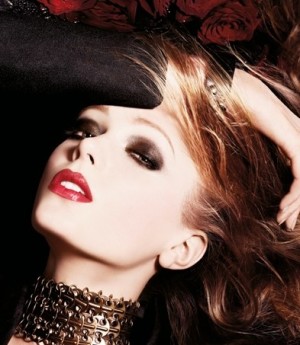
If you’ve to go a party or got a big concert or a fancy gala to attend, creating a smoky eye can add a bit of sophisticated drama to your look. Smokey eye is a makeup technique the involves creating around the eye. Perfecting the smoky eye is not limited to makeup fiends and artists alike, but to anyone with the correct tools and a little know-how. Learn to apply both a classic and dramatic smoky eye with these fast and easy steps.
Step 01: Getting Your Eyes Ready.
Begin by applying a light shade of concealer to the under eye area, and all over the top lid. Your mineral makeup foundation is a great concealer for this step and prepares your Eyes for the eye shadow that you are going to apply.
Step 02: Using The Liner.
First, line both the top and bottom rims with an eye pencil, paying close attention to going into the lash line itself.
If you have small eyes apply liner starting from the middle of the under eye to the outside of the eye. If your eyes are large feel free to line from corner to corner.
Hint: If you are using liquid liner you can place dots on the lash line and then follow the dots to get a perfectly straight line. I knew those connect the dot puzzles I did as a kid would come in handy some day!
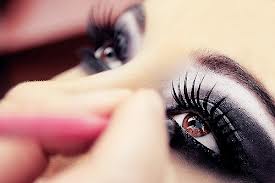
Step 03: Adding The Shadow.
With a small eye shadow brush or a q-tip, soften the edges of the eye pencil line.
Apply a dark shadow using a sponge-tip applicator, smudge brush or a q-tip directly over the penciled area and smudge. (If you prefer, you can use your finger tip.)
The shadow helps to set and soften the look.

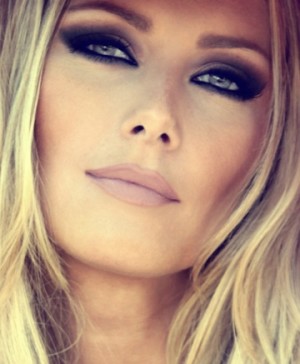
Step 04: The Final Touch.
Next apply a lighter shadow in a neutral tone with a larger eye shadow brush, I like to use the wet/dry brush.
Encircling the entire eye area, be sure to soften and graduate outward for that perfect blended look.

Step 05: Curl Your Lashes.
Creating a smokey eye isn’t just all about eye shadow, it’s the overall look. So, while you want to do a precise job of applying the right eye shadows in the right places, you also wanted to pay attention to your lashes. Curling your eyelashes will help open up your eyes and really make them stand out.
Step 06: Apply Mascara.
After you curl your lashes, you’ll want to apply generous coats of mascara. Some people find that waterproof mascaras hold curl better so that’s always an option. However, some waterproof mascara formulas can be a bit drying on the lashes so it’s not the best idea to use a waterproof formula daily. But for special occasions, why not?
Step 07: Cleaning up the “Territory”
Brush away any shadow that has fallen below the eye with a fluffy brush and clean up any areas that have smeared with a q-tip. If you have trouble getting rid of fallout from eye shadow, you can always try using Scotch tape to pick up any fallout without smudging your makeup.
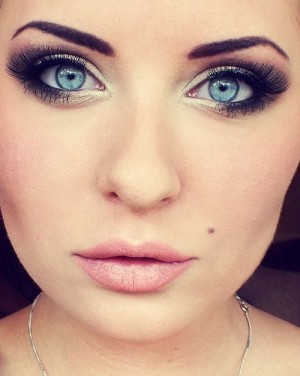
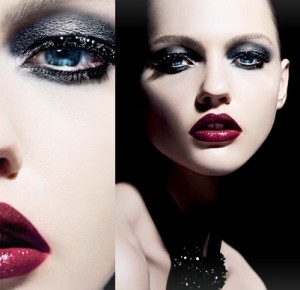
Step 08: Going Super-Dramatic.
Want a more dramatic look add more Shadow and Mascara! If you are looking for the most dramatic effect be sure to curl those lashes and apply 2-3 coats of black mascara!
Hint: Want your eyes to look larger – Pull your liner upward when lining your bottom lashes instead of out from the top liner! This will make your eyes look larger and rounder!


